My mother-in-law is coming to stay for a while and she has trouble with steps. We put grab bars by all the places she has trouble with—the tub, the two steps up into the living room, the steps up from the garage, and on the stairs. We’re getting quite good at installing them securely.
So I figured, how hard could it be to install a rail up to the deck? It wasn’t particularly hard, but it took 11 hours. Though to be fair, about an hour of that time was googling, talking to people about how to do it, and seeing how they installed a rail at the nearby hardware store.
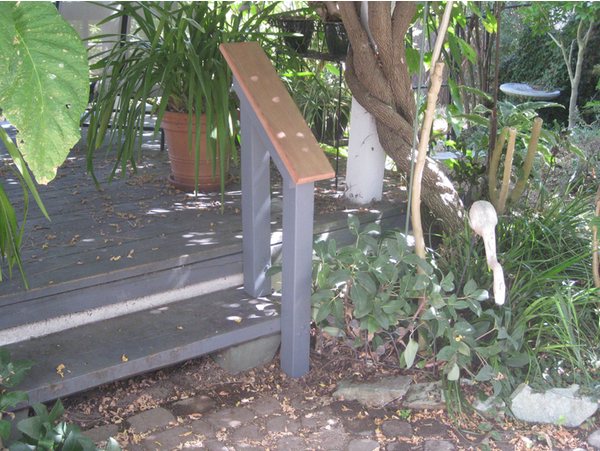
In the end, it is very secure—no wobble at all. The posts are just about perfectly plumb in both directions and the top rail doesn’t wobble.
I think I could do the other side in a couple of hours. The first problem I ran into was that I couldn’t get the top post to sit on the step. Then it occurred to me that they had sloped the step just a tad to let the water flow off. Several iterations on the chop saw and I had it sitting flush on the step.
The next problem was tacking the rails up so that I could cut the tops. I ended up getting some 5 inch nails so that I could keep the posts in place while I marked the angle for the top rail. I had pre-drilled the holes, but none of my drill bits were 4″ long so they wouldn’t go all the way through the post. I ended up using the lag bolts to go through the post, then drilling a pilot hole where they dimpled the wood.
The angle for the rail ended up being 40° so it was easy to cut on the chop saw. There is an anchor piece under the rail that also has the same angle for each end.
I made the anchor piece and the top rail out of scrap redwood from an old deck. The surface was pitted and cracked, so I used the table saw to plane the edges. I tried to plane the top of the rail but the riv knife in the saw kept the board from going through the saw. A belt sander worked to smooth off the top and bottom. The edges were rounded for better grip with a router.